

How To Draw Call Of Duty
![]()
This tutorial assumes that you have no knowledge of mapping, or no noesis of using any version of Radiant.
A tutorial by Surgeon courtesy of .Map
Contents
- 1 Radiant Setup
- i.ane Installing CoD Radiant
- one.two Setting CoD Radiant upwardly
- two Radiant Preferences
- ii.1 Views/Rendering
- two.2 Photographic camera
- 2.3 Texturing
- 2.four New Functionality
Radiant Setup
The showtime thing you will demand, if you havn't got it already is a copy of Phone call of Duty Radiant (CoD Rad for curt). Y'all tin get the Tools hither.
Installing CoD Radiant
To install CoD Radiant:
- Open up CoDTools.exe
- Click next
- Read the License agreement and agree with it.
- Read the system Requirements and make sure you have what it takes to run CoD Rad.
- Make certain that the directory is pointing to where Call of Duty is installed.
- Install.
- Create a shortcut on your desktop.
- Leave.
Get to your callofduty/main/maps folder and create a new folder. Rename information technology mp.You should now be ready to run CoD Radiant for the first fourth dimension.
If you have whatever problems runnning CoD Radiant, Open up Regedit and delete the HKEY_CURRENT_USERSoftwareCoDRadiant folder. Yous do and then at your own risk.
Setting CoD Radiant up
This department is going to tell you how to set your editor up with some of the more common preferences.
Open up your editor. You should be asked to locate the cod.qe4 file. This should be located in toolsbin.
The Editor will so open up upwards and you will see something similar to this :
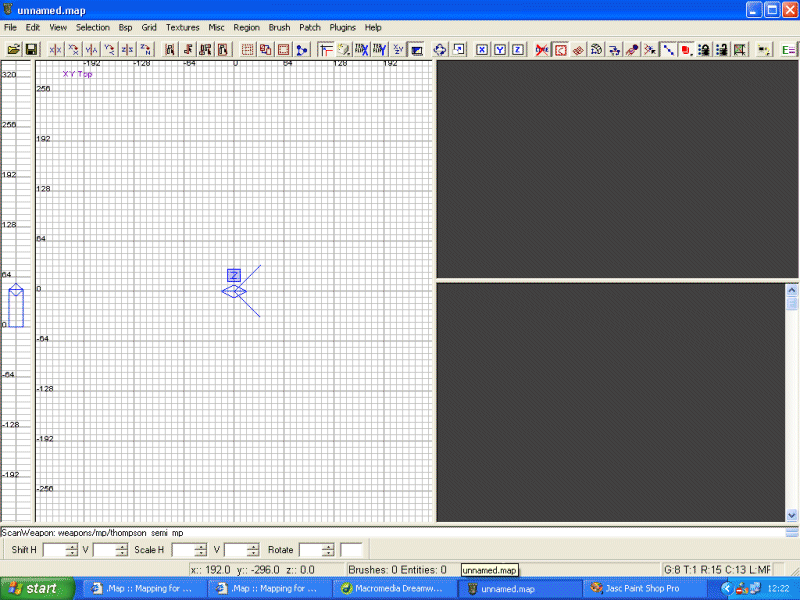
Ok, now that you know what CoD Rad looks like, we have to go and prepare some preferences.
- Click on File->Project Settings:
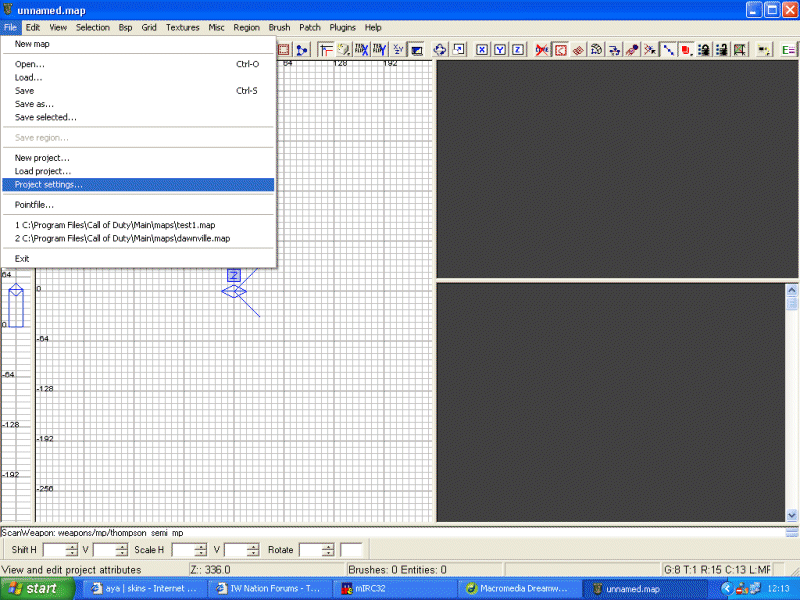
You lot should come across:
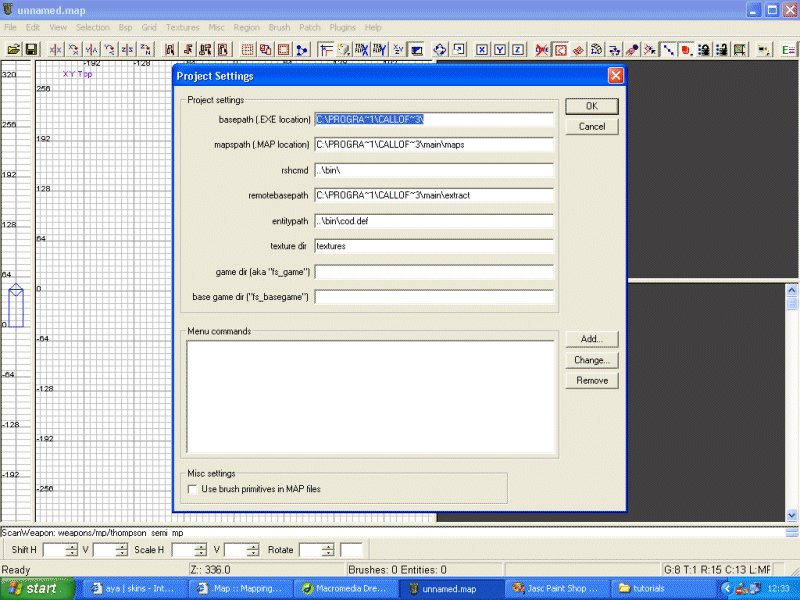
The editor should take detected where everything is. The important lines to check are:
- basepath (.EXE Location) - Should bespeak to the binder where codsp.exe & codmp.exe are.
- mapspath (.MAP location) - Should indicate to the mainmaps folder.
- entitypath - Should indicate to the cod.def file located in the toolsbin folder.
Radiant Preferences
Next nosotros take to ready CoD Rad's preferences (edit->preferences). This will bring up the Preference Options :
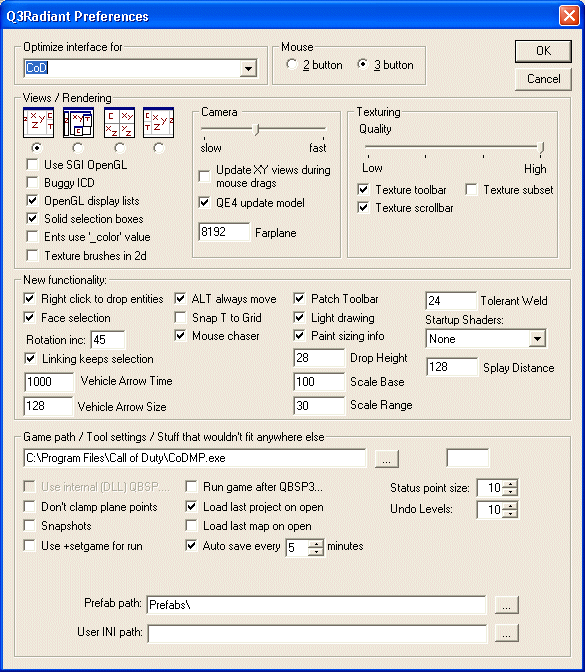
We'll take information technology in stages. Note: I'k only going to cover the points I consider important.
Views/Rendering
The iv little pictures offer yous a pocket-sized choice in the layout of CoD Rad. Try them all out and see which one suits you lot the best.
Solid Option Boxes - When ticked, any brush/entity selected volition be shown with solid bold lines. With information technology unticked, the lines will exist dashed.
Ents use '_color' value - ??
Texture Brushes in 2d - This shows the textures on brushes in the 2D window, useful for building geometry from a 2nd image
Camera
Slider - The slider controls the speed of camera movement in the 3D Window.
Update XY views -
QE4 Update Model -
Farplane - The maximum farplane distance (controls how far the in editor cubic clipping tin become).
Texturing
Texture Toolbar - Unticking this box gives you a handy texture toolbar at the bottom of the screen. Ticking information technology hides the toolbar.
Texture Scrollbar - Gives y'all a handy scrollbar to curlicue through the textures in the texture window.
Texture Subset - Gives you a method of selecting textures within a texture set.
New Functionality
Correct click to drib entities - With this ticked you can bring up the entity list by right clicking on the 2D Window.
Rotation Inc - ??
Vehicle Arrow Time - A concatenation of vehicle nodes draws a spline in editor when set up upwards correctly. This control sets how far apart the arrows are by time the vehicle would take to get from one arrow to the next.
Vehicle Pointer Size - Sets the size of the arrows in the 2D Window ??
Patch Toolbar - Adds a selection of buttons to the toolbar at the top, that permit the manipulation of Patch Meshes.
Calorie-free Cartoon - With this selected, the editor draws a light entity as a diamond shape. Unselected the light entity is drawn as a common box.
Paint Sizing Info - When creating a brush, the unit length/width (dependant on view plane) is visable.
Drop Summit - Ctrl-Alt-left click copies a currently selected entity to the location clicked. Ctrl-Alt-centre click moves the selected entity. Drop height controls how far to a higher place or below the surface you clicked on the entity will be placed. Useful for making the base of trees exist beneath the terrain when they are placed on non flat surfaces.
Scale Base - Run into Toggle "tree/grass placement mode". Scale base defines the default model scale for this style (100 = normal).
Scale Range - Like calibration base of operations, but controls the amount of calibration variation.
Tolerent Wield - The distance at which the editor will do tolerant welding.
Startup Shaders - ??
Splay Distance - Select some vertices in a terrain patch and press Alt-W . This volition brand these vertices separate apart forth their current direction by the distance ready in this box. Useful for keeping the texture a consistent scale on a patch which uses Set up for its texturing (for example roads).
Game Path / Tool Settings / Misc
Load last project on open - With this ticked, CoD Rad volition open your last project when started
Load concluding map on open - With this ticked, CoD Rad will open your terminal map when started
Car save every - With this ticked CoD Rad will autosave your map every # of mins that you specify. Handy fashion of making sure that y'all don't loose much piece of work to a hang / crash.
So thats the basics covered. Now you tin brainstorm to learn the basics of mapping with CoD Rad!
by Surgeon
Sources

Source: https://wiki.zeroy.com/index.php/Call_of_Duty_:_Map_Editor_Setup
Posted by: robertsonbeirch1984.blogspot.com
0 Response to "How To Draw Call Of Duty"
Post a Comment